Recognizing the letters of the alphabet is an essential skill for preschoolers. It is a foundation skill for children so they can read later on. Let children be engaged as they learn the letters to increase curiosity and motivation.
Here are ten activities that will keep children interested in learning the letter L while having fun.
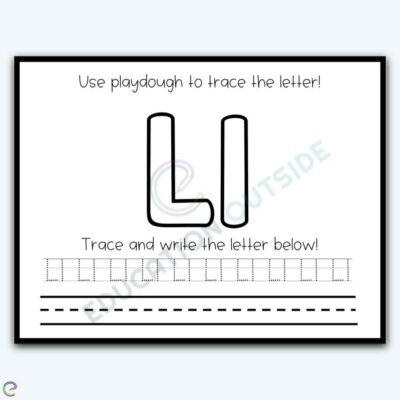
Playing with clay not only provides entertainment for young children but also helps strengthen their hand muscles as they squish, roll, and form letters. This activity is also an ingenious way to teach children letter recognition.
With this mat, children will have fun forming the letters. They will also have an opportunity to enhance their fine motor skills.
Download and print this mat from the site. Laminating is advisable for durability and can be reused many times. Next, have the children take some playdough and form them into uppercase and lowercase letters.
For younger children who have yet to become familiar with clay play, demonstrate rolling and making the clay longer. Tell children to form a long snake shape with the right amount of pressure.
Once the letter playdough is formed, have children trace the dotted letters on the paper using pencils or markers. They can also practice writing these letters on the line. If this printable is laminated, a dry-erase marker can be used.
For this activity, you will need:
- Printed playdough mat
- Pencil or marker
- playdough
For more information on this activity, go to EducationOutside.org.
The letter form is an essential aspect of learning about letters. Children can see the letter’s shape and formation as they connect it to its name and sound.
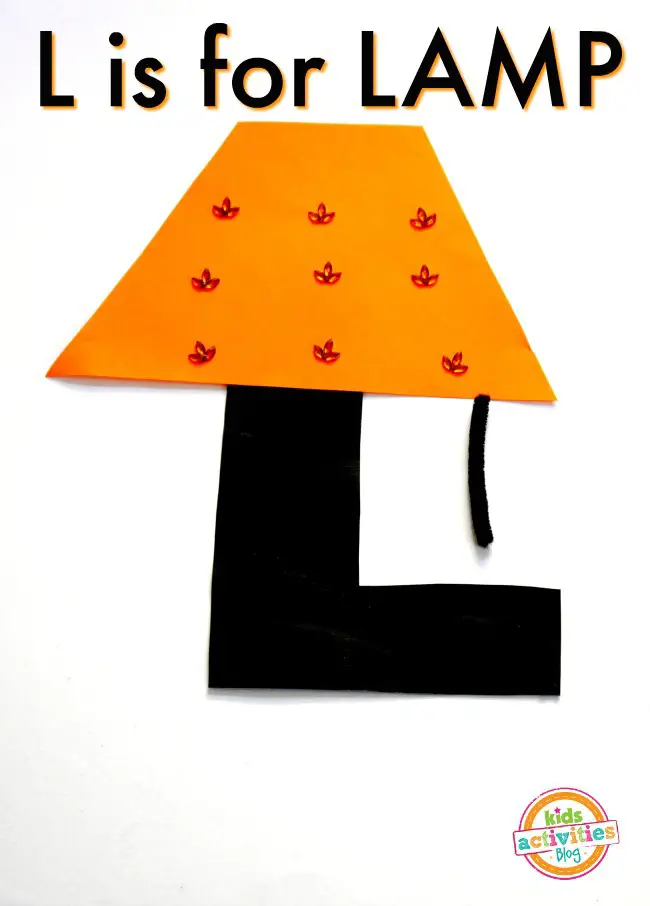
This activity teaches children that the letter L form can be turned into an object that begins with L. This will quickly help them understand that words have letters and letters have sounds.
Download and print the free Letter L template from the site to make the lamp. Cut and trace this on black construction paper. Have the children cut this out and set it aside.
Next, cut out a trapezoid shape from the orange paper to make the lampshade. Stick this on the top of the letter L. Cut a short pipe cleaner to make the switch. Attach this to the bottom right part of the lampshade.
The site recommends having children decorate the lamp using beads, markers, faux gems, and other embellishments to make their lamps unique.
For this activity, you will need:
- Printed letter template
- Construction paper
- Pipe cleaners
- Glue
- Beads
- Scissors
For more information on this activity, go to KidsActivitiesBlog.com.
The lion is one of the most popular animals in preschool. Children love playing with lion toys and imitating its sound.
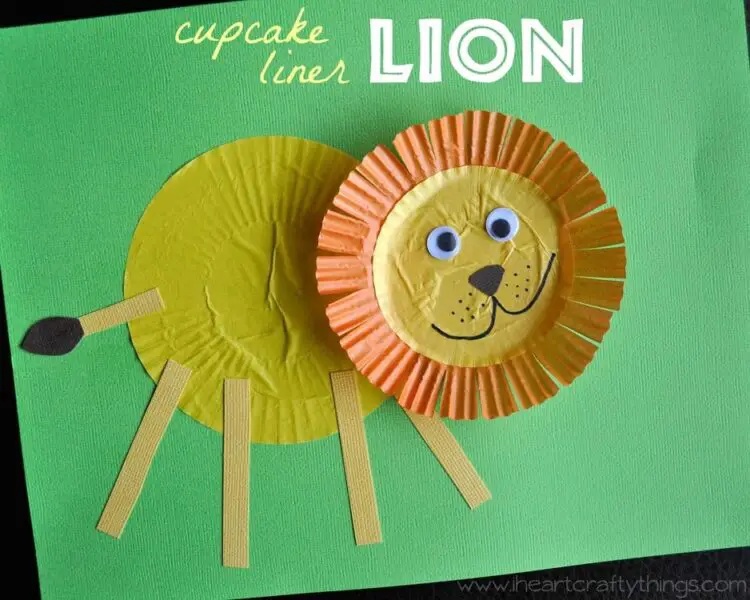
This craft is a great way to teach the letter L while learning more about the animal. Remind children that the word lion begins with the letter L. Use this craft to go with the book “The Tawny Scawny Lion” by Kathryn Jackson.
Start with flattening the cupcake liners. Have the child stick one flattened regular-sized yellow cupcake liner on green construction paper. This part will become the lion’s body.
To make its head, flatten the mini cupcake liner and stick it inside the orange. Snip some fringes on the ribbed part of the orange liner to make the lion’s mane. Glue the head on the body.
Cut out four thin strips of yellow construction paper to make the legs. Stick them on the body. Cut another thin strip to make the tail and stick a tear-shaped cut out from brown construction paper. Stick the tail onto the body.
Use the black marker to draw the nose and mouth, and add the dots for the whisker spots. Lastly, stick the googly eyes.
For this activity, you will need:
- Yellow and orange cupcake liner
- Yellow mini cupcake liner
- Scissors
- Glue
- Googly eyes
- Construction paper
- Black marker
For more information on this activity, go to IHeartCraftyThings.com.
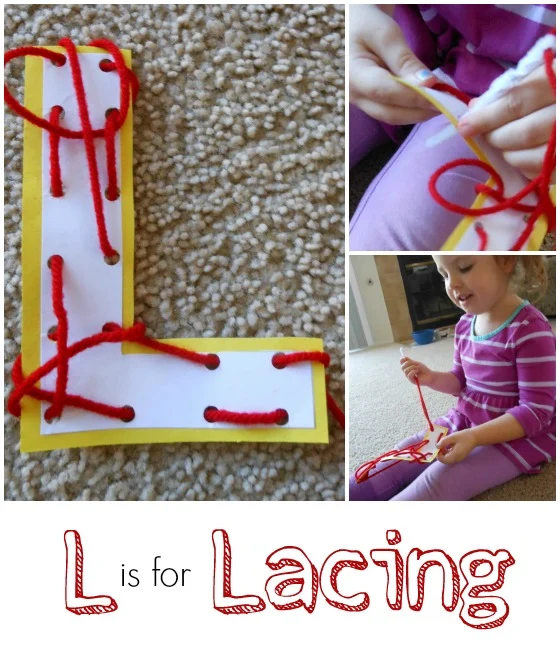
This letter L activity helps children learn what the uppercase form looks like while improving eye-hand coordination and directionality. It also teaches patience and perseverance.
This activity is great for centers and tabletop exercises. Children might need help with where to put the yarn. Use markers to add colors around the edges of the holes. This step will make it easier to guide them instead of pointing out which hole is next.
Guide them by demonstrating the putting in and pulling out of yarn in each hole. Teach them to flip the letter L when the attempt to put the yarn from underneath is difficult.
To make the letter L, outline and cut out a large uppercase letter L on yellow construction paper. Make another one on white paper slightly smaller than the yellow one. Glue the white letter L on top of the yellow and let this dry.
Punch holes about half an inch apart. Next, make the needle and thread by folding the pipe cleaner half. Insert the yarn in the middle and twist the pipe cleaner.
Have the children put the yarn in the first hole, continuing until all the holes have been laced.
For this activity, you will need:
- Construction paper
- Glue
- Scissors
- Hole puncher
- Yarn
- Pipe cleaner
For more information on this activity, go to ConfidenceMeetsParenting.com.
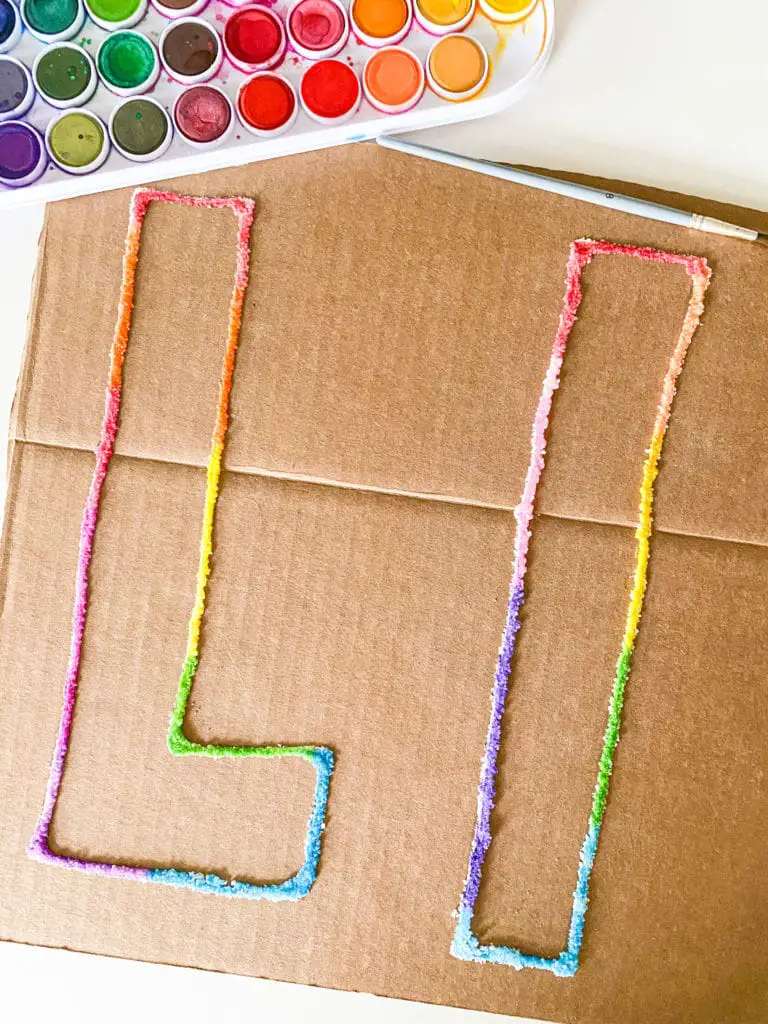
This activity not only teaches the upper and lower case letter L. It is also an excellent sensory activity that teaches colors to young children.
Use this craft as a guide for children when writing. Have them run their fingers inside the raised border to help them make the letter L on paper.
Start with cutting the cardboard to fit inside a tray. Outline the upper and lowercase letter L. Carefully squeeze a small amount of glue on the outline. Let children sprinkle salt generously over it.
Use fine table salt for this activity. The coarse type of salt will not create the same textured effect on the letters.
Shake off the excess salt and throw it in the trash. Let this completely dry before proceeding to the next step.
Dip the paintbrush in water and swirl it onto the watercolor. Let the colored liquid drip over the salt. Let children use different colors on the letters. Once the letters are completely covered with color, let them dry.
For this activity, you will need:
- Cardboard
- Pencil
- Glue
- Salt
- Watercolor
- Paintbrush
- Water
For more information on this activity, go to ABCDEELearning.com.
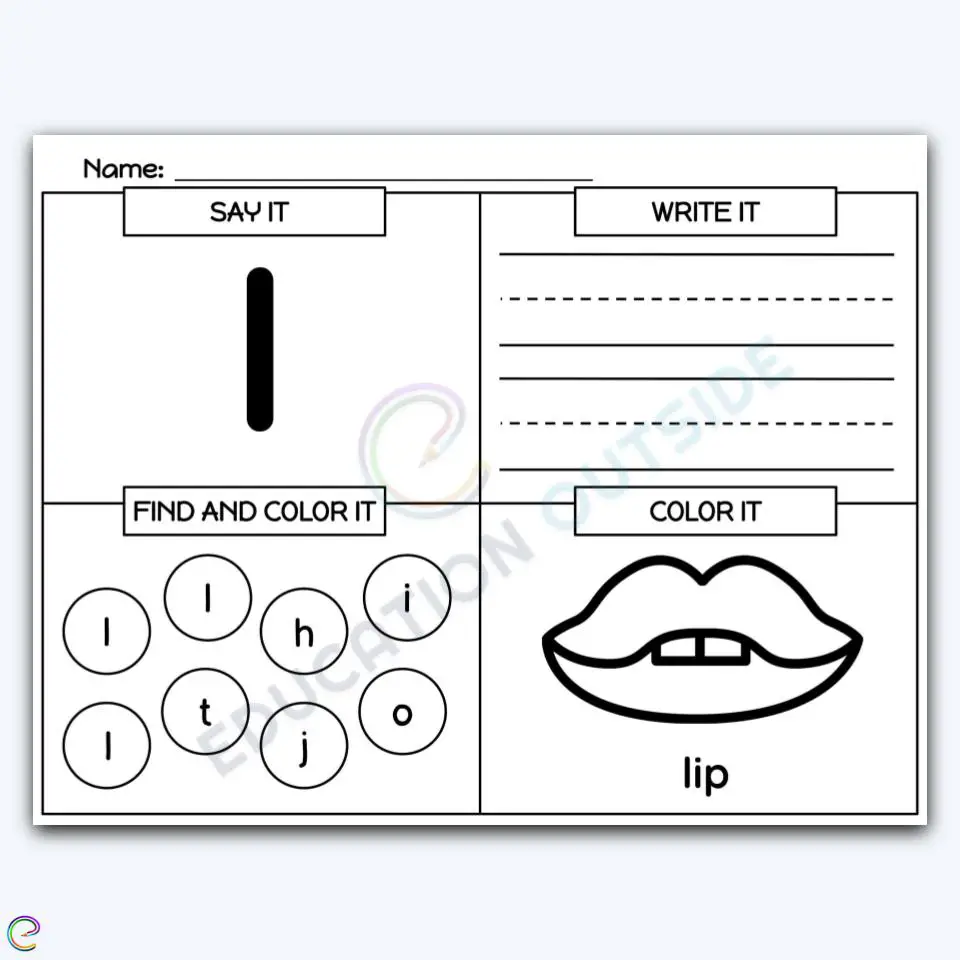
This printable provides four ways for children to learn the lowercase l. Working on this activity sheet will help children recognize and identify the letter l and have an opportunity to practice writing the letter.
This activity will also allow children to learn a picture and word that begins with the same letter.
Download and print this activity sheet from the site. Have children trace and say the letter name on the upper right part of the printable.
Opposite the letter, have children attempt to copy the letter on the line using a pencil or different colors of markers.
Once finished, let them find the same letter in the circles. Let them use the marker to shade the circles with the correct letter. Another option is to use bingo markers if available.
Lastly, point to the picture of the lip on the bottom right. Ask the children if they can identify the image. Ask them to point to their lips as well. Point to the word under the picture and ask if they can say the word’s first letter.
Reiterate that the word lip starts with the letter l and let them color the picture.
For this activity, you will need:
- Printed activity sheet
- Colored markers or crayons
- Pencil
For more information on this activity, go to EducationOutside.org.
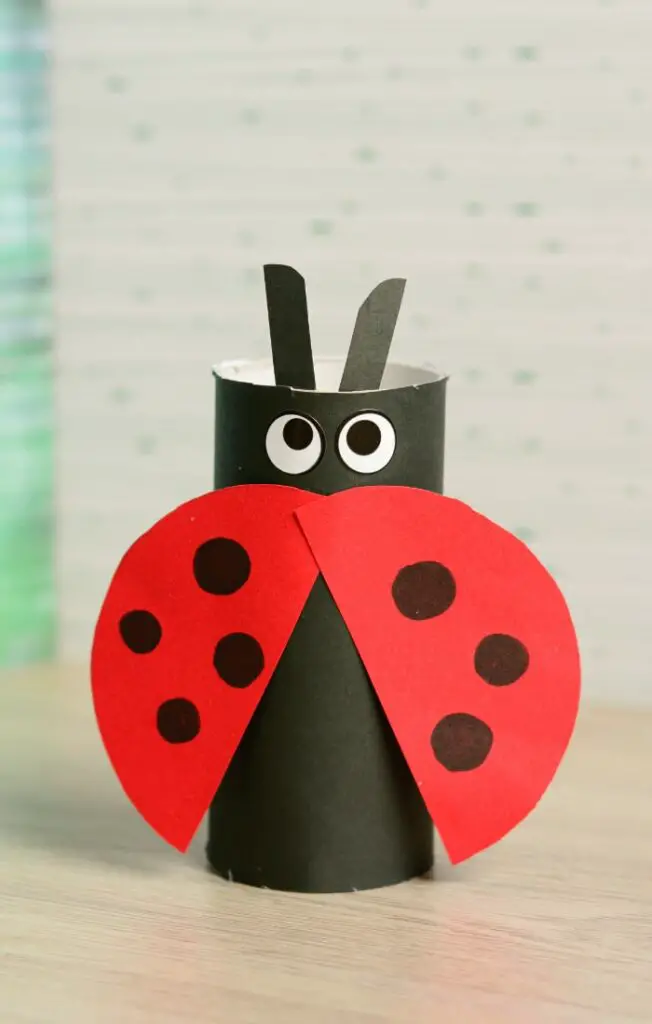
Since the word ladybug starts with L, this craft is perfect for learning its beginning letter along with colors and numbers. Make several of these bugs with varying numbers of spots on their wings for counting activities.
Use different construction paper, not just red, for the wings so it can be used to teach colors. Instead of fully shading the circles to make the spot, write the letter L so children can connect the letter with the object.
Start by wrapping a toilet paper roll using black construction paper cut to size. From the same paper, cut out two strips for the antenna. Stick this on the inside part of the toilet paper roll.
Cut out one circle, then cut it in the middle. These will become the wings. On each wing, draw varying sizes of circles using a marker. Shade the circles fully to make the spots on the ladybug.
Cut two small white circles for the eyes. Use a black marker to add the pupils. Stick the eyes close to the top edge part of the roll. Stick the wings below the eyes.
For this activity, you will need:
- Toilet paper roll
- Construction paper
- Scissors
- Glue
- Markers
For more information on this activity, go to EasyPeasyAndFun.com.
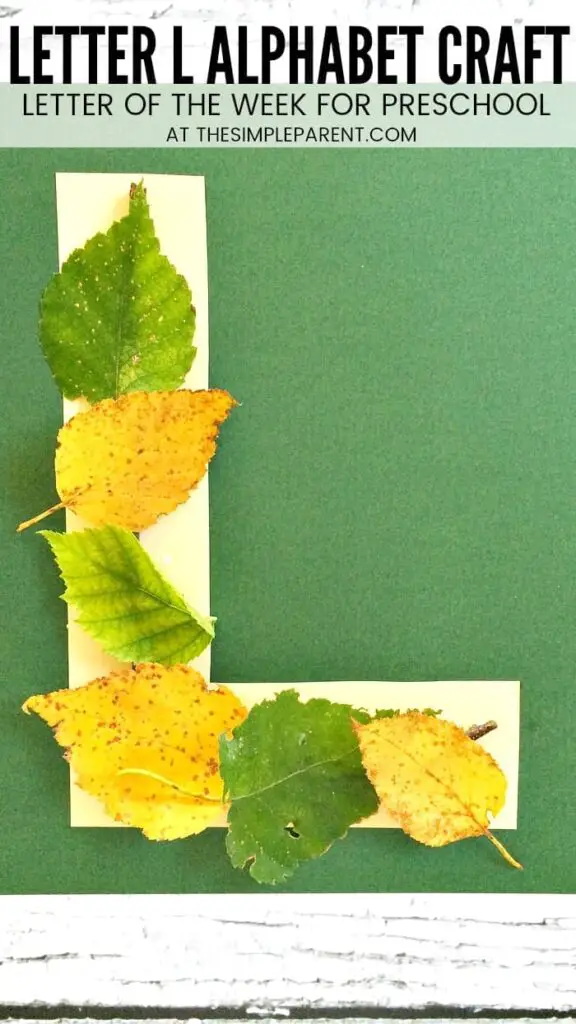
This excellent craft combines learning letters and nature study to allow children to explore the outdoors. This activity is perfect for summer when different leaves shed off trees or in fall when leaves are more colorful.
Let children observe how leaves differ in size, shape, and color. Let them note fine details such as serrated or smooth edges, pointy tips, thick midrib, and small veins.
Allow them to choose the leaves that they will use for this craft. To ensure that the children know the right leaf size for this craft, present one as a reference. Choose leaves and sticks that are intact and have no rotten parts.
Start with cleaning the leaves and sticks to get off the dirt. Set these aside. Next, outline a letter L on cream-colored construction paper and cut this out. Stick this on green paper.
Next, glue the sticks to form the letter L on the cream-colored cut-out. Trim off the excess to ensure they are the right size inside the letter. Glue the leaves on top of the sticks.
For this activity, you will need:
- Leaves
- Long sticks or twigs
- Construction paper
- Glue
- Scissors
For more information on this activity, go to TheSimpleParent.com.
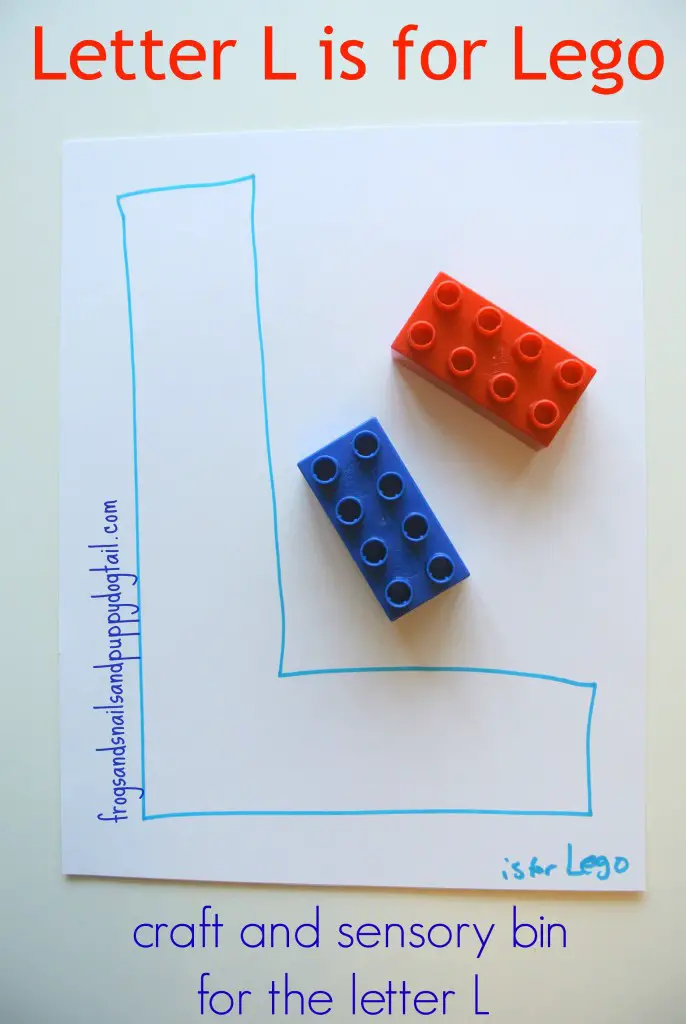
Connecting blocks is a great way to form letters with no curved edges. As children become familiar with the shape and form of the letter, they can visualize and use the blocks to make them.
This activity is a great way to learn about letters and colors. They can also count the number of Legos they have used to form the letter.
As they do several of these, their fine motor skills will improve. Picking the Lego pieces and attaching them to the plate will help strengthen their finger muscles and help them manipulate smaller objects.
Give a Lego base plate to each child. Provide an ample amount of bricks for children to form the letter L. If necessary, show children a flashcard or a picture of the letter to become familiar with it.
Have them make the letter by connecting the bricks on the plate. Let them use as many or as few as they need. Let them compare the size of the letter L that they have made.
For this activity, you will need:
- Legos
- Lego base plate
For more information on this activity, go to FrogsAndSnailsAndPuppyDogTail.com.
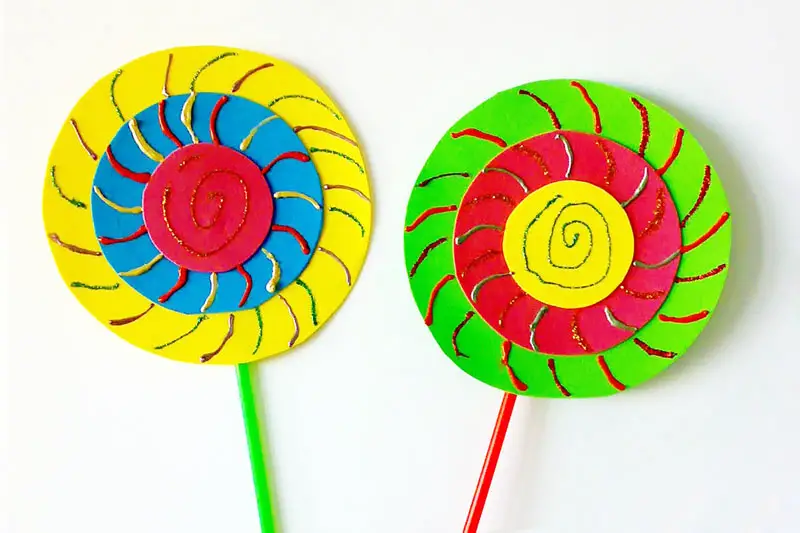
Here’s another versatile craft that can be used for different lessons aside from learning about the letter L. Children can learn about the circle shape and the different sizes from this lollipop craft.
They can also learn about colors and the different lines, such as swirls and spirals, which are present in the craft. However, instead of these lines, one can opt to write the letter L to strengthen their letter recognition skills.
Start with cutting three varying sizes of circles. Use the compass to make the circles and cut them out from three different colors of construction paper. Glue them on top of each other, starting from the biggest to the smallest, forming concentric circles.
Use stick tape to attach the drinking straw to the back. Add the designs on the lollipop using glitter glue or puffy paint. Use the marker to make the lines as a guide for children. Let this dry before using.
For this activity, you will need:
- Craft foam
- Drinking straw
- Glue stick
- Sticky tape
- Scissors
- Compass
- Markers
- Glitter glue or puffy paint.
For more information on this activity, go to FirstPalette.com.
Conclusion
Let children have fun as they learn about the letter L in many ways. Incorporate these activities together with some games, songs, movements, and rhymes for children to enjoy these activities,
As they participate in many activities that teach letters, they will become more aware of their form, shape, name, sound, and the objects that begin with the letter. These are essential skills that children should be confident in preschool. Thank you for stopping by.


