Teaching wind to preschoolers is important, yet merely discussing the topic isn’t enough. Keep your class engaged by incorporating wind-themed activities. Not only will these activities teach them about the wind, but they can also help develop many other essential skills.
Take a look at the wind activities presented below and add them to your lesson plan. These activities are extremely fun and will keep the class on their toes!
Great Wind Activities for Preschoolers
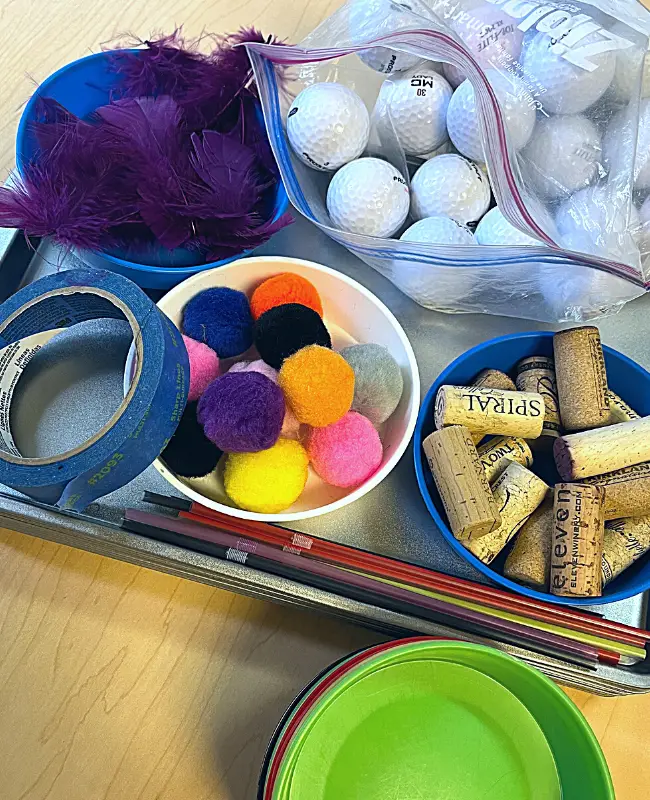
This is a STEAM (Science, Technology, Engineering, Art, and Math) activity that promotes brain development and teaches preschoolers to learn from their mistakes. It also fosters creativity and imagination.
Begin by popping the painter’s tape on the end of the cookie sheet, as this will be the finish line. Next, collect items of different weights, like golf balls, cotton balls, and pompoms in a bowl and have the children move them around by blowing “wind” through a straw. Tell them to move the items across the finish line.
After the activity, ask the class what was the easiest and hardest item to move and what the difference was between the two items.
Supplies:
- Cookie sheets
- Different objects, like corks, golf balls, cotton balls, pompoms, and feathers
- Painter’s tape
- Small bowls
- Straws
For other weather activities perfect for preschoolers, visit notimeforflashcards.com.
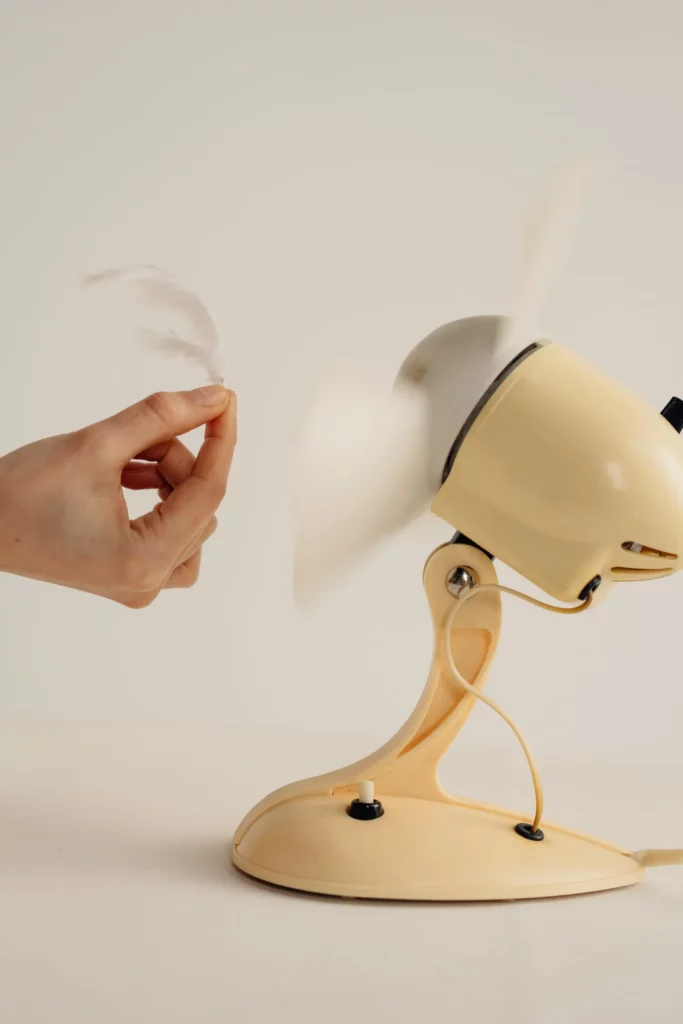
This activity will require blowing items in the wind, so make sure that the class has sufficient space. The class can use different items for this activity, like balloons and scarves.
Start by setting up a fan. Ask the children the hold lightweight items, such as balloons, scarves, and streamers, and see them blow in the wind. After a couple of minutes, instruct them to let go and watch the items flutter away. For the next round, let the children hold heavier objects, like their books and pencils.
Let the children share their observations about the activity. Why did lightweight objects flutter away? How come heavy objects stayed in place? Encourage the class to think critically.
Supplies:
- Fan
- Heavy objects
- Lightweight objects
Additional information on this activity is presented on inventorsoftomorrow.com.
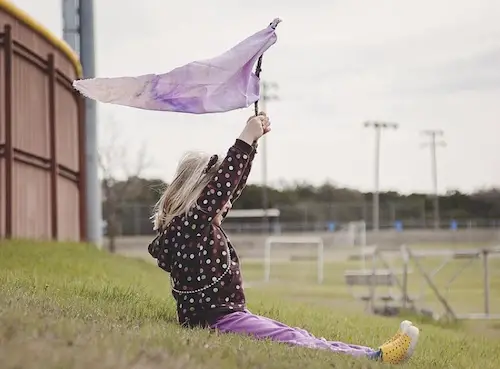
Make the most out of windy days by teaching children how to make wind flags. This activity encourages long hours of play as the children get to run wild with the wind with their flags.
Using an old bed sheet or any fabric, cut out flags. Let the class decorate the flags by providing paint in different colors. Gather sticks to use as poles and then attach the flags to the poles using rubber bands.
Let the children take their flags out, ideally on a hillside or open field. Tell them to hunt for the wind and watch how the wind makes their flags “dance.”
Supplies:
- Old bedsheets or any fabric
- Paint
- Rubber bands
- Scissors
- Sticks
Visit tinkergarten.com to learn other engaging activities perfect for preschoolers.
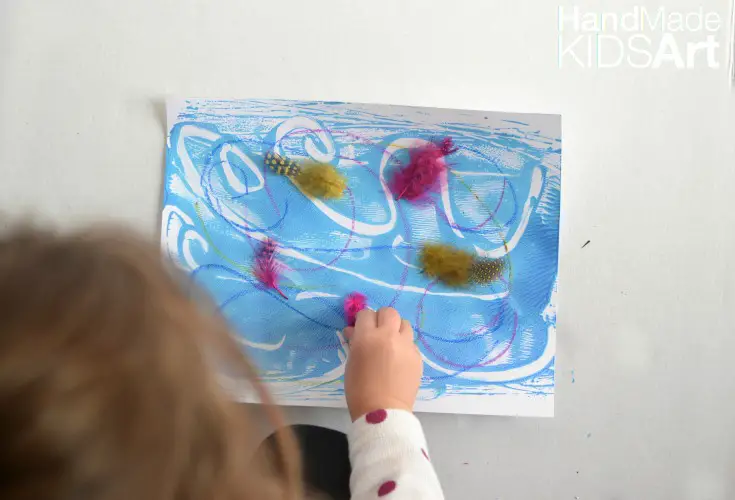
This activity allows children to describe how they imagine feathers would dance in the wind. The colorful artwork they make can be displayed in the classroom or in their homes.
Instruct the class to cover a cookie sheet with paint using a paint roller or brayer. Tell them to draw lines that represent the wind in the paint using their fingers or q-tips.
Next, have the children place a white paper on top of the paint and press down for a couple of minutes. Guide them to carefully peel the paper. The design should be transferred to the paper.
Tell the class to add more details using oil pastels or crayons. Lastly, let them glue feathers to the paper to represent how they observed the feathers dancing in the wind.
Supplies:
- Cardstock paper
- Cookie sheet
- Feathers
- Roller
- Washable paint
Other preschool activities are presented on innovationkidslab.com, so take time to visit their site!
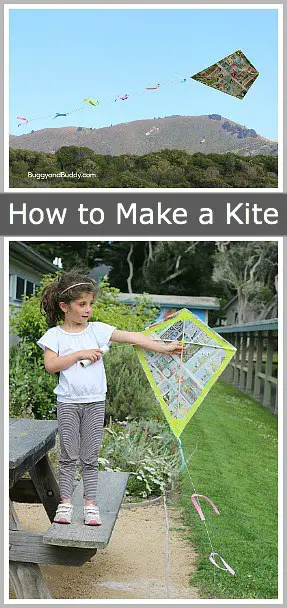
Making a kite is a wonderful learning experience for preschoolers. Flying it together is also one of the best ways to learn about the wind.
Use the wooden dowels to form a letter T and secure them using string and tape. Next, have the class design the cover for their kites by providing an old newspaper and some paint to them.
Let them add as many colors and patterns to the newspaper. Once done, secure the newspaper to the frame using tape, and then add a piece of string at the bottom of the kite.
Supplies:
- 2 1/4 inch round wooden dowels
- A full sheet of newspaper
- Little handsaw
- Masking tape
- Paint
- Pencil
- Ruler or yardstick
- Scissors
- String
- Yarn
To learn more about this activity, visit buggyandbuddy.com.
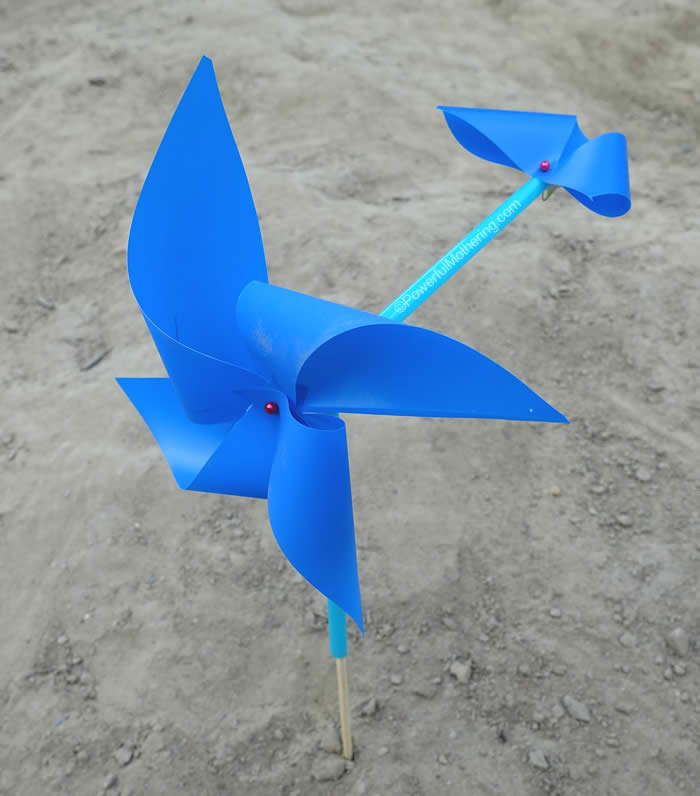
This is an excellent windy day activity as it aims to help children see which way the wind is blowing. Plus, it teaches them to be patient as they’re completing this project.
Teach the class to cut out a 5”x5” square from their chosen material for the pinwheel and then fold the square in on itself in triangles.
Next, let the children cut the seams to leave a solid shape in the center. Show them how to poke a hole in every second corner and stick a pin.
Cut a small bit of straw to ensure that the pinwheel is further away from the stem. Fit over the straw to the kebab stick and stick it to the ground.
Supplies:
- 2 pins
- 2 straws
- A kebab stick
- Painter’s tape
- Scissors
- Stiff plastic or cardstock for your pinwheel
Check out how the pinwheel weathervane looks by heading over to powerfulmothering.com.
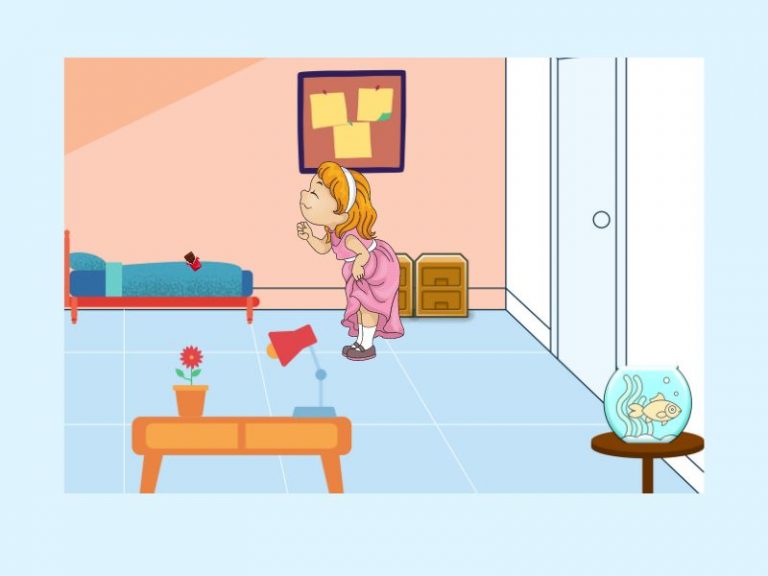
This activity involves different fragrances to teach the class how fast smell travels through the wind. It’ll require them to rely on their nose as they explore different fragrances in the room.
Ask each child to stand in one corner of the room with their eyes closed. Instruct the child to focus only on the smell of the object. Next, open a fragrant object, like a chocolate bar or perfume, and ask the child to guess the object by sniffing it from a distance.
Turn on a fan to spread the fragrance in the room. Help the class understand that the wind can carry a smell.
Supplies:
- Different-smelling items, like chocolate, rose, and perfume
- Fan
You can find other engaging wind activities for preschoolers on numberdyslexia.com.
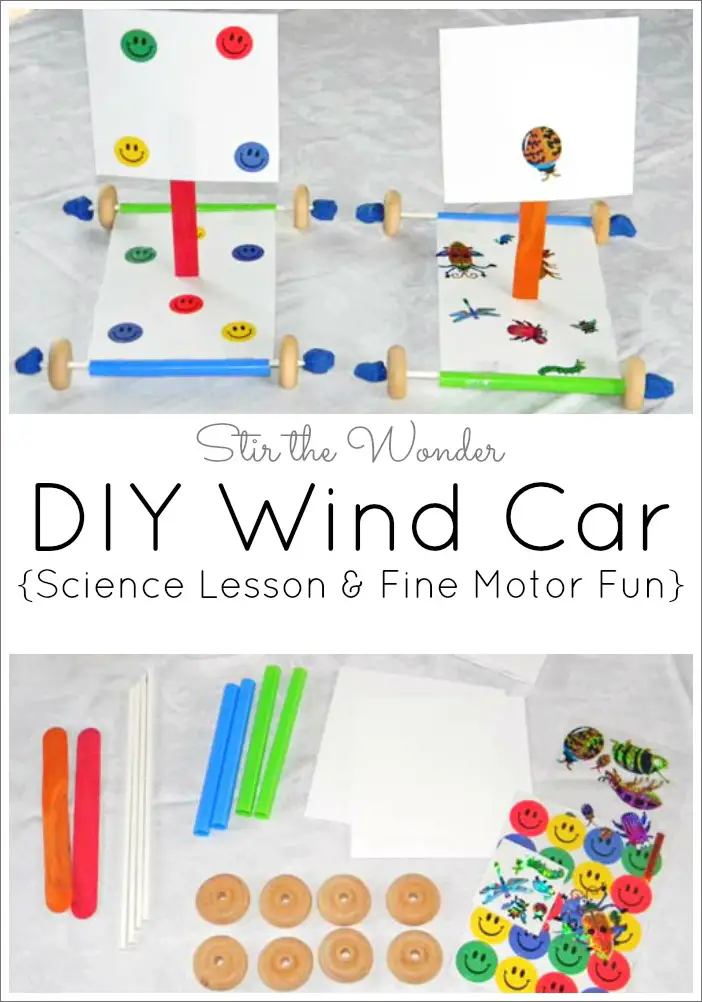
Make this activity more fun by turning it into a race. Let the class race to the finish line using their very own wind cars!
Have the children decorate their foam board with colors, stickers, or whatever they wish. Show the class how to use tape to attach the straws to the ends of the foam board.
Next, tell them to slide the cake pop sticks through the straws and then slide the wooden wheels onto the cake pop sticks. Have them secure the wheels using play dough.
Instruct the class to decorate the paper sail and have them attach it to a craft stick using tape. Guide them to insert the craft stick into the slit in the foam board. Now, the class is ready to race!
Supplies:
- 1 5×5″ cardstock square
- 1 8×5″ foam board with a slit cut into the center
- 1 large craft stick
- 2 5″ long milkshake straws
- 2 8′ long cake pop sticks
- 4 wooden wheels
- Playdough
- Stickers
- Tape
Check out other preschool activities on stirthewonder.com.
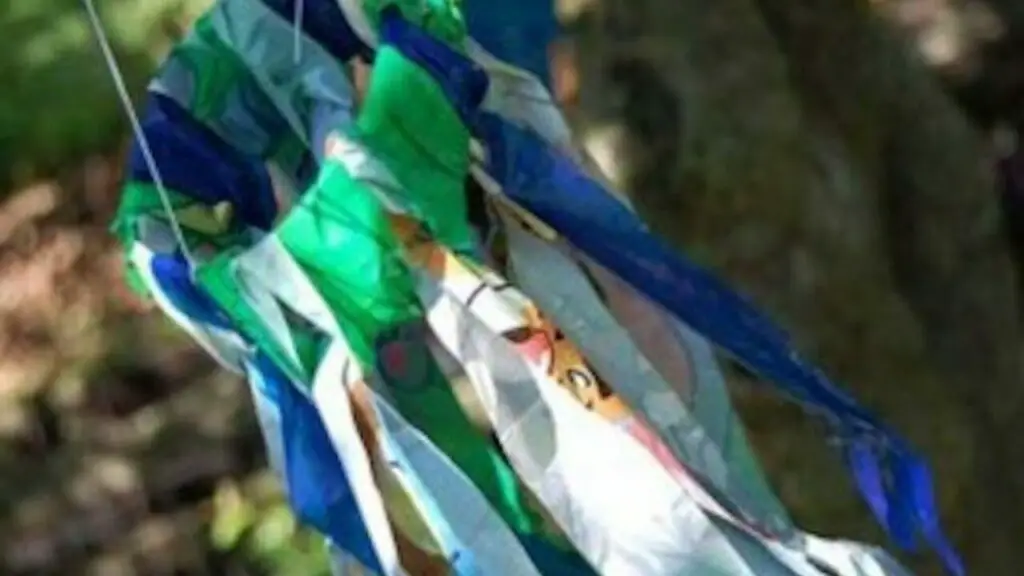
While making this project, engage with the class by discussing the wind. Ask them how they know if it’s windy and what happens outside when it’s windy.
Cut a ring from a soda bottle. Direct children to cut 1” wide strips out of the plastic bags. If they’re using colored bags, have them cut a variety, so they’ll end up with a multicolored windsock.
Guide the children to fold each strip in half and thread the folded end through the soda bottle ring. They should have a loop on one side of the ring and then a tail on the other. Have them repeat the process until the bottle ring is covered. Teach children how to hang their windsock using a loose string and a hook.
Supplies:
- An empty soda bottle
- Scissors
- String
- Used plastic grocery bags
Pbs.org has tips on how you can extend the learning for this project, so check their site today!
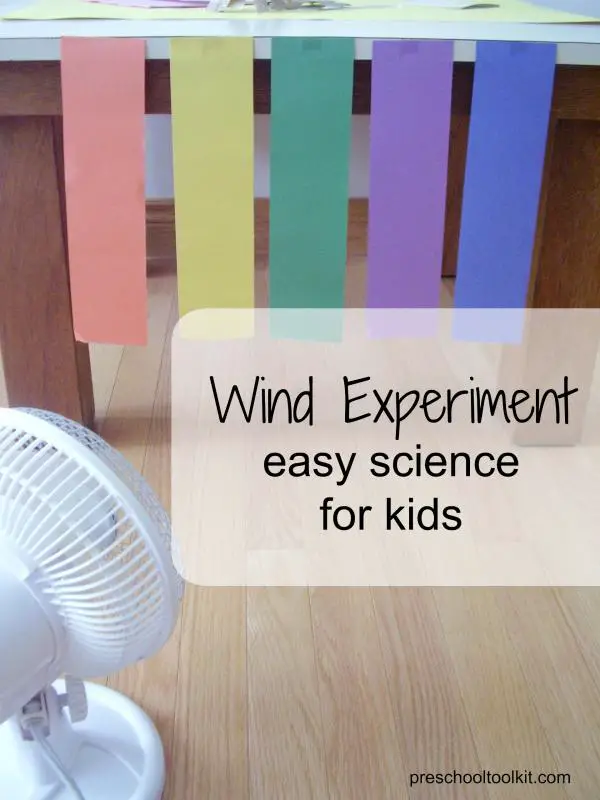
This activity is easy to set up and requires few materials. It also allows children to learn through play as they get to explore and observe the experiment.
Tape one end of each paper rectangle to the top of a low table with the other end of the paper hanging loosely. Next, attach different objects to the end of the strips using tape. Position a small desk fan in front of the paper strips, turn it on, and let the children predict which of the items will easily move.
Supplies:
- Construction paper rectangles measuring 3 x 12 inches (7 x 30 cm)
- Objects like crayons, feathers, cotton swabs, and clothespin
- Scissors
- Small table fan
- Tape
Learn more about this fun experiment on preschooltoolkit.com.
Conclusion
With the activities presented in this article, preschoolers will never get bored learning about the wind. On the contrary, they’ll enjoy learning about wind and might get too excited to experience wind around them!
We regularly feature preschool activities centered on different themes, so make it a habit to visit our site!
People Also Ask
We’ve included this section to make it easier for you to teach topics on the wind to the little ones. It answers some of the most common questions teachers have about teaching winds to preschoolers. Take note of the information below as you make your lesson plan for this subject.
Explain to the class that the wind is just air that’s moving. You can proceed by telling them that air is made of extremely small particles invisible to the eyes, and whenever they see a flag, leaves, or their hair moving in the wind, the tiny molecules are making these all happen.
Other activities and resources you might like:


